
Requirements before getting started:
- At least one user group must exist. To create user groups, please read the tutorial "How to create user groups."
- At least one service area must exist. To create service areas, please read the tutorial "How to create service areas."
- At least one location must exist. To create locations, please read the tutorial "How to create locations."
- User must have the privilege to manage users. To make this change, please read the tutorial "How to edit user privileges."
NOTE: For customers using Google or Azure AD for authentication, Q Ware will automatically create users the first time they log in. Created users will default to the "Requester" user group and will be given access to all service areas and locations. Once created, administrators can modify the users privileges and access.
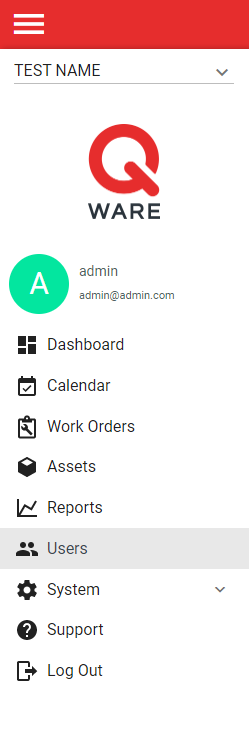
1. Log in to your Q Ware application and navigate to Users.
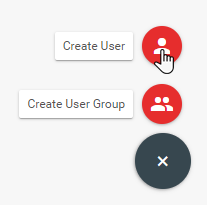
2. From the user management interface, click the red create button at the bottom right hand side of the screen.

3. Select "Create User" from the popup menu.
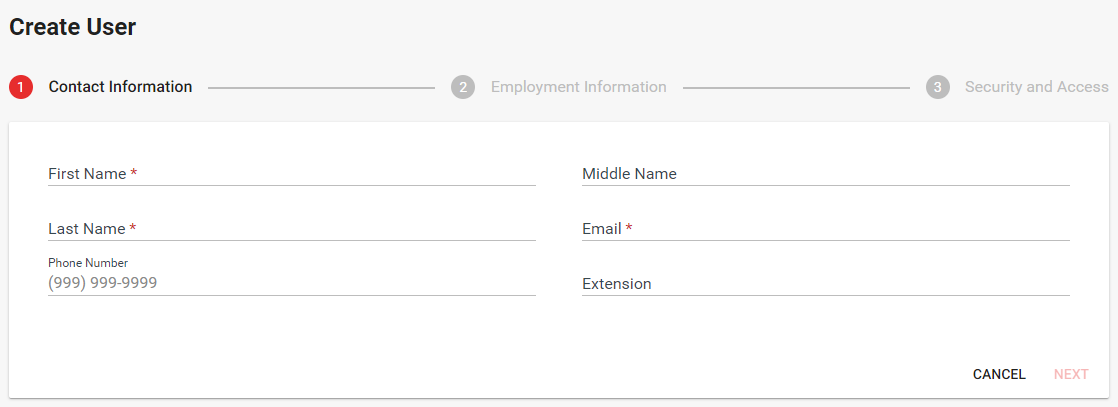
4. Complete each step of the user create form. Make sure to fill in all required fields. There are 3 steps which include:
- Contact Information - the contact information about the user
- Employment Information - the employment information about the user
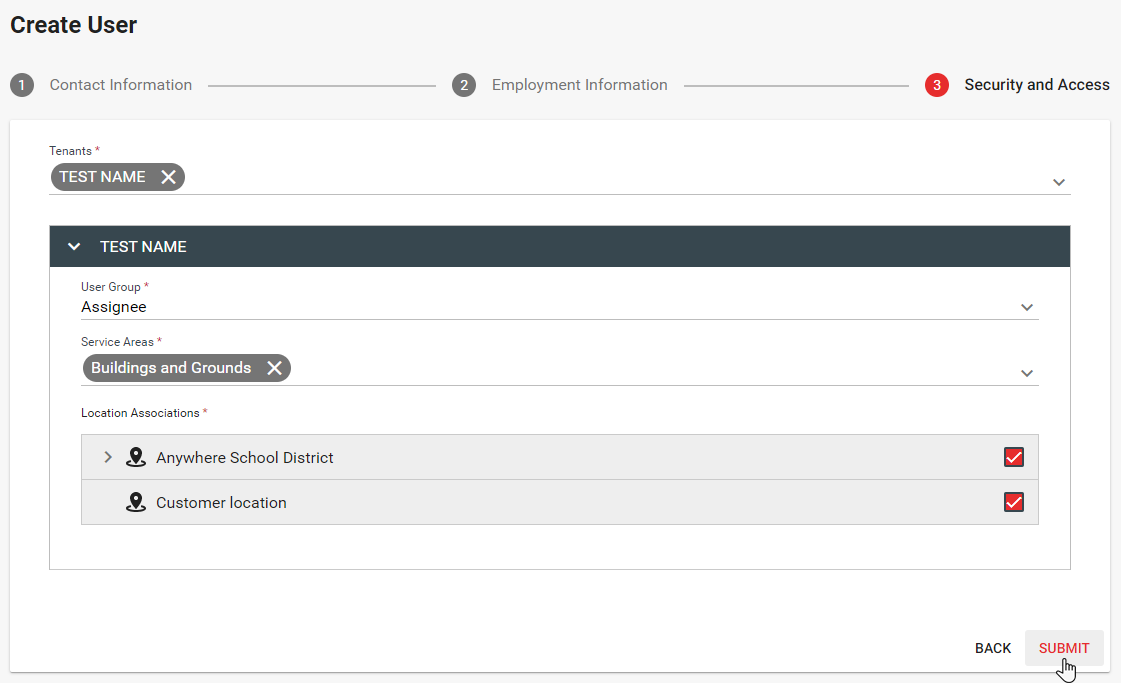
- Security and Access - the user group assignment, service area access, and location access for each available tenant
5. Once completed, click submit to create the user and return to the user management interface.
Comments
0 comments
Please sign in to leave a comment.